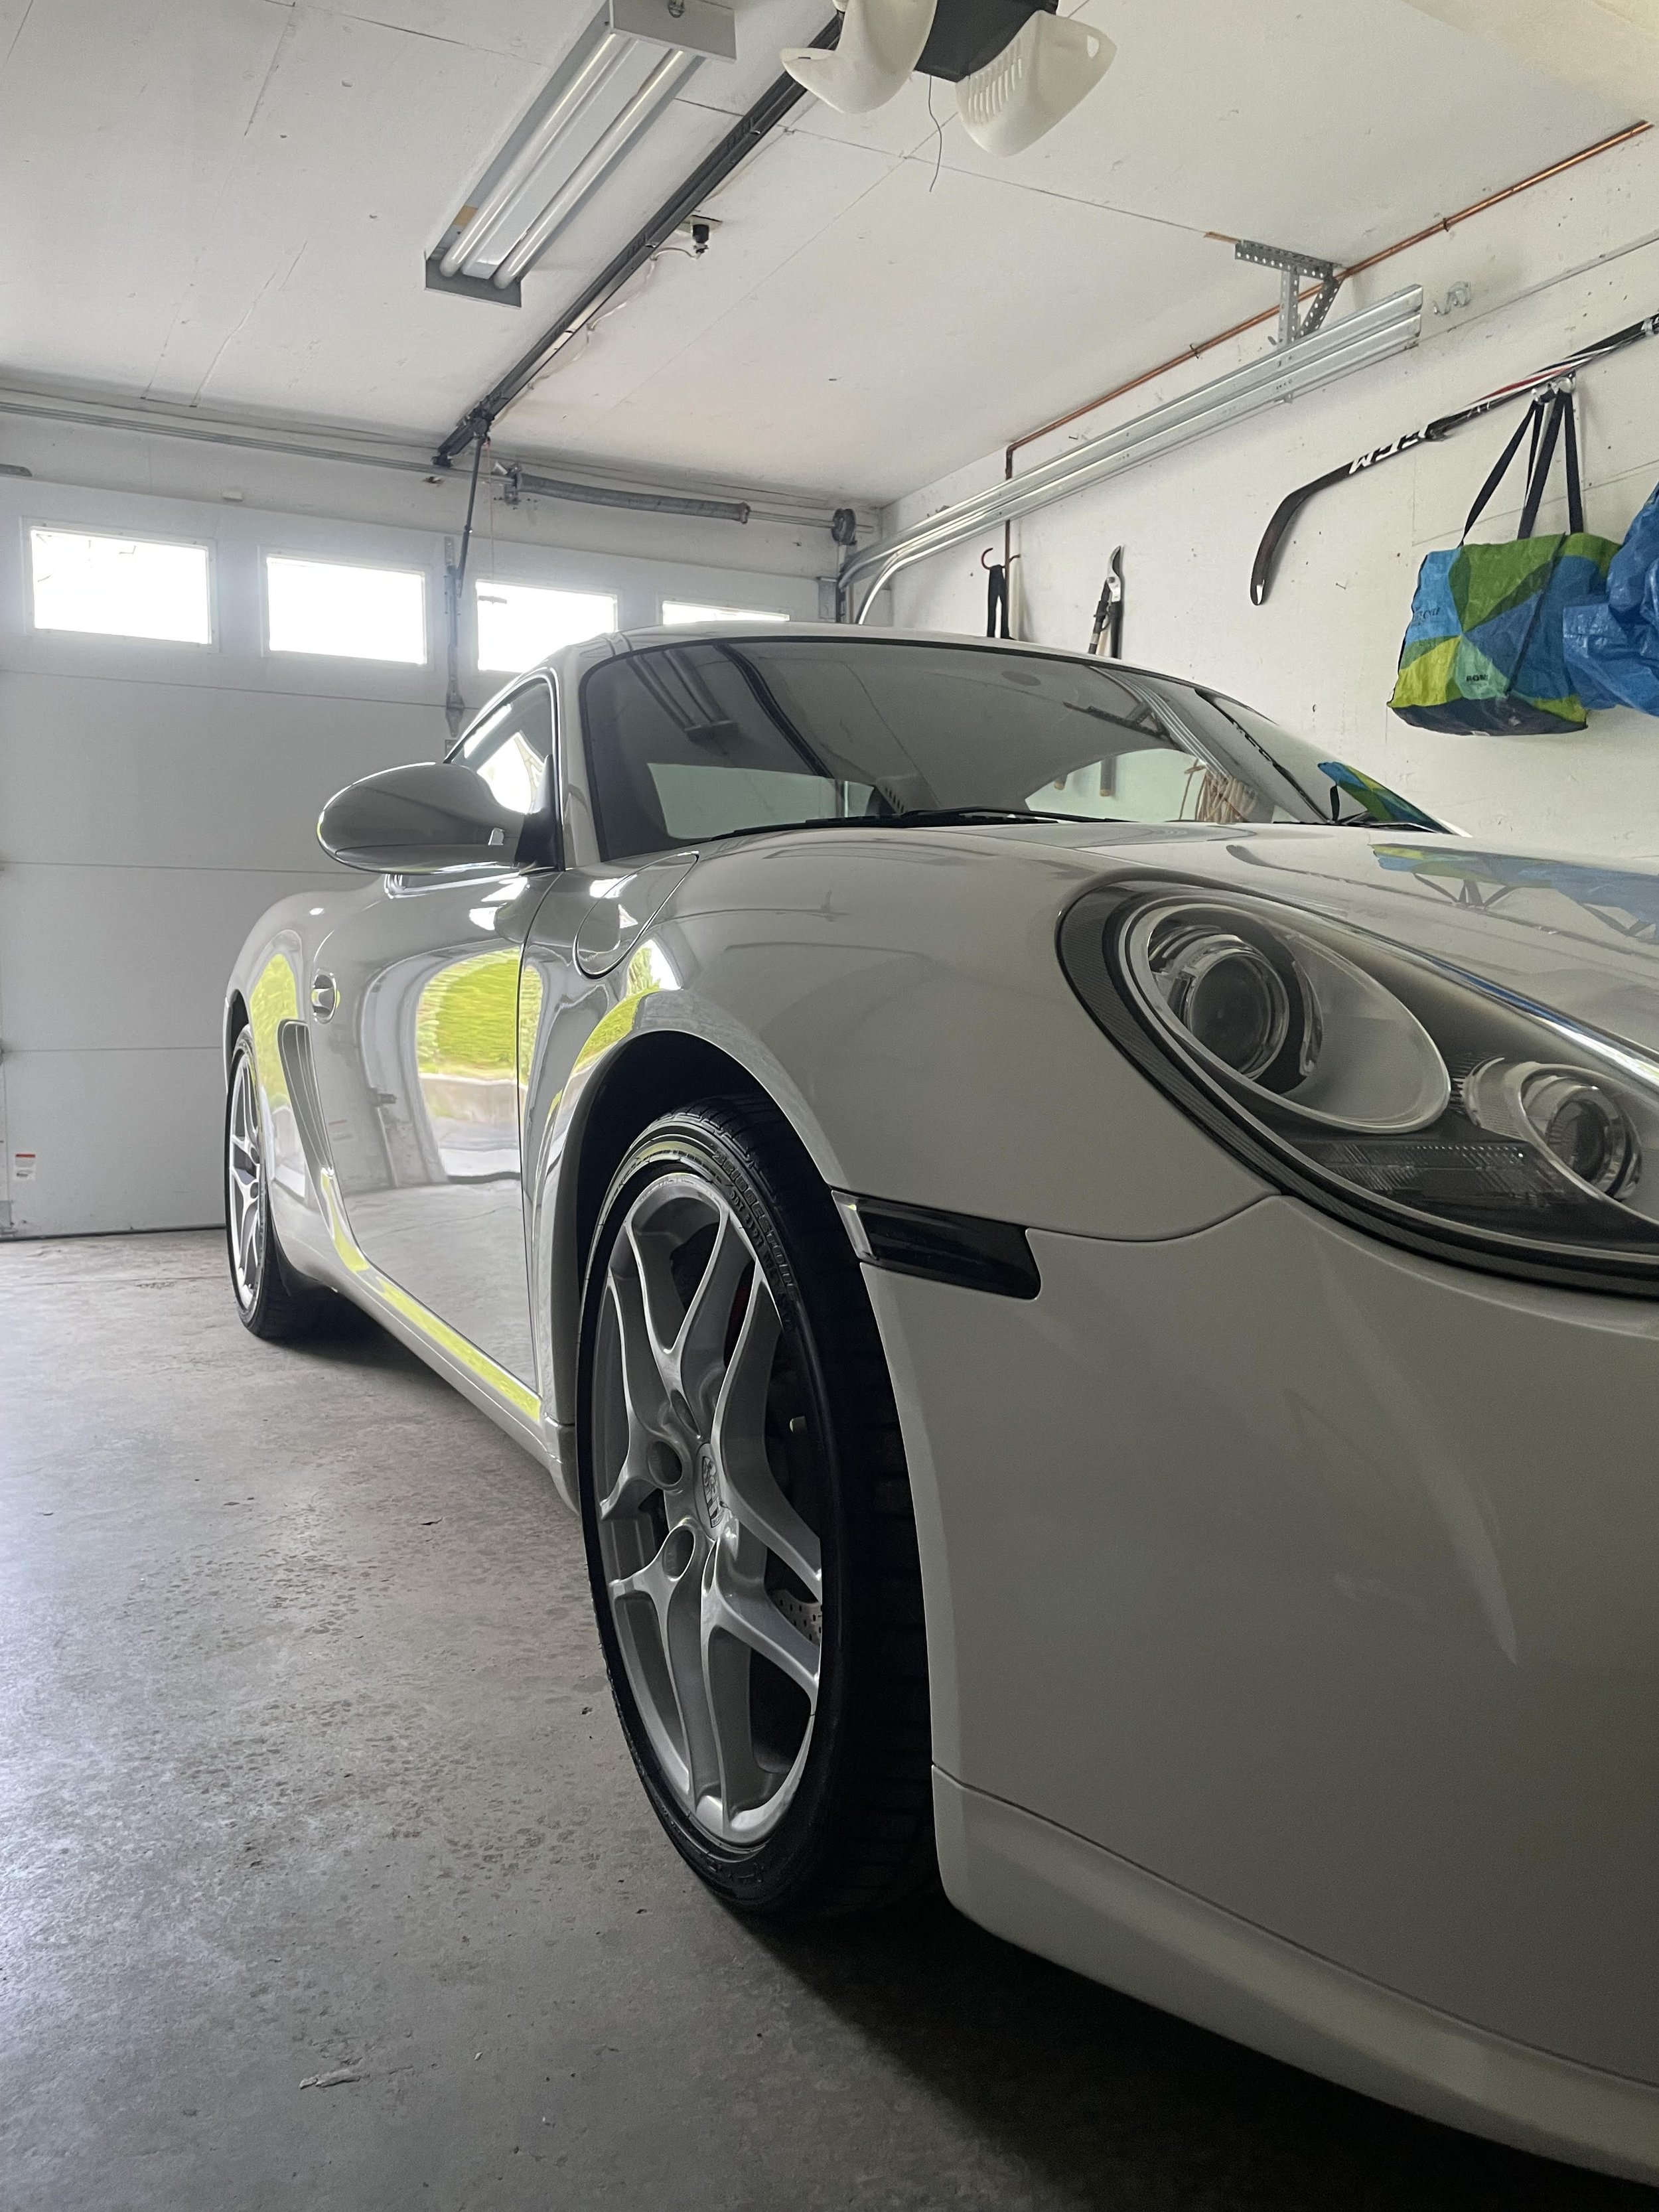
Boat owners talk about performance, storage, and fishing spots. Not enough talk about finish. A clean, polished hull does more than turn heads at the dock. It runs drier, cleans faster the next time, resists UV, and often signals to buyers that the mechanical side is loved too. In a sunny, four-season region like West Kelowna, where summers can hit 30 Celsius and winters swing below freezing, that attention pays back in time, money, and pride. Whether you handle your own boat detailing or count on a shop that specializes in boat detailing West Kelowna, knowing the basics gives you control over results and costs.
What “detailing” really covers
Detailing is not a fancy wash. It is a process that protects, restores, and presents every surface above the waterline, plus select areas below. Done well, it takes the boat through stages: decontamination, correction, protection, and maintenance. On a fiberglass runabout, that means removing minerals, fallout, sunscreen stains, and light oxidation. Then correcting swirls and chalky gelcoat with compounds and polishes, and finally sealing with wax or a ceramic coating. Add vinyl, canvas, metals, non-skid, and glass, each with its own chemistry.
Sailboats, ski boats, pontoon decks, RIB tubes, aluminum fishing rigs, and cruisers all need the same philosophy, but techniques and products differ. A pontoon’s anodized rails want gentler acids and tight dwell times. A glossy gelcoat hull needs rotational polishing with wool followed by a foam finish. A Hypalon tube rewards a UV-protective dressing that does not leave a slick film. Matching the method to the material is where professionals earn their keep.
West Kelowna conditions shape the plan
Local climate matters. Okanagan Lake is freshwater, so salt crust is not the issue. UV is. High-altitude sun accelerates oxidation on gelcoat and dries vinyl faster than many owners expect. Summer dust sticks to warm hulls, and wildfire smoke, when present, lays a fine, acidic rind that etches glass and eats wax. Winter storage introduces freeze-thaw cycles that push moisture into seams and fittings. Those conditions tilt the balance toward more frequent light polishing, higher UV protection, and thoughtful storage. People search for boat polishing West Kelowna because the local calendar is demanding. If you trailer and launch often, grime accumulates at ramps and in road film. If you slip the boat in the marina, bird droppings and spider webs turn into permanent stains if left for weeks.
Start with a proper wash, not a strip
A good first wash sets the tone for everything that follows. Too many owners reach for household soap or strong APC, strip whatever protection is on the boat, and dry the finish even more. Keep it pH-balanced unless you are deliberately resetting the surface before a new coating. Work in shade whenever possible. Heat flashes soap and water, leaving spots that later haunt you under shop lights.
When I prepare a hull for correction, I add a pre-rinse with softened water to lower mineral spotting. Bug splatter and road film respond to citrus-based cleaners that are safe on existing wax. Mineral marks around scuppers and fittings in freshwater can need a light acid cleaner, but use it like a scalpel, not a bucket. Ten to thirty seconds of dwell, then a thorough rinse. On non-skid, a stiff brush and a cleaner that lifts oily residue without leaving a slick film makes a visible difference.
If you plan to polish, expect an extra decontamination step. Clay mitts or synthetic decon pads remove bonded contaminants that soap cannot. You can feel the change. The mitt will drag on a contaminated panel, then glide once it is clean. That glide tells you you are ready to correct, not scratch.
The heart of it: polishing gelcoat for gloss
Gelcoat is harder and more porous than automotive clear coat. It oxidizes from the surface inward, which is why chalk returns quickly if you only glaze. The correction step should remove, not hide, damaged material. Get the variables right: machine type, pad, compound, speed, and pressure.
Rotary polishers cut faster and restore gloss on heavy oxidation, but they also heat the panel and can leave holograms if you rush. Dual action machines run cooler and are safer around edges and decals. They take longer to remove deep defects. On a 22-foot bowrider with moderate oxidation, a proven combination is a rotary with a twisted wool pad and a medium compound for the first pass, followed by a dual action with a finishing foam and a fine polish.
A brief, focused process many boats respond to well looks like this:
- Tape off rub rails, vents, decals, and sharp edges. Heat and compound can pull vinyl and burn edges. Start at 900 to 1200 RPM on a rotary with a wool pad. Keep the pad flat, move 2 to 3 centimeters per second, and overlap passes by half. Wipe residue frequently with soft microfiber, and inspect under cross-lighting. If chalk keeps loading the pad, clean it with compressed air or a pad brush every section. Switch to a dual action polisher with a finishing foam and a fine polish to refine the surface. Work smaller sections and slow the arm speed. After correction, chemically strip the surface with a panel wipe, then apply the protection of choice within a few hours.
This is one of the two lists in the article and serves as a compact, high-value sequence. The specifics matter. Low RPM never fully engages a wool pad. High RPM overheats and smears. Overlap ensures even cut. A clean pad maintains bite and avoids dragging spent compound, which scratches. Gelcoat responds predictably when you control these basics.
On darker hulls, micro-marring shows fast. That is when foam cutting pads with a long-throw dual action can outperform wool rotaries, even if they take longer. If a black hull still looks hazy, slow down, reduce pressure, and extend working time. Heat and haste create haze more often than an underpowered machine.
Sealants, wax, or ceramic coatings
Protection is not a religion, it is a tool for your use pattern. Carnauba wax leaves a warm glow and is forgiving, but it drops off after 4 to 8 weeks under strong Okanagan UV. Polymer sealants can stretch to two or three months, sometimes more if the boat lives under cover. Modern marine ceramics offer 12 to 24 months of protection if the prep is solid, but they require meticulous application and cure. Misapplied coatings lock in streaks and high spots for all to see.
For trailer boats that are washed weekly, a quality sealant topped with a spray silica after each use gives a sweet spot of shine and ease of maintenance. For owners who put the boat into slip service for the full summer and do not want to polish mid-season, a professional ceramic layer after thorough boat polishing may be worth the cost. Some shops offering boat polishing West Kelowna bundle multi-year ceramic packages with scheduled inspections. If you are the type to rinse religiously and keep soft water handy, coatings pay off. If not, they can become rough to maintain and require professional removal.
Interiors: vinyl, non-skid, teak, and glass
Vinyl hates alcohol and harsh degreasers. Those products pull plasticizers and leave the seat dry, which later cracks. Use marine vinyl cleaners with mild alkalinity, agitate with a soft brush, rinse low pressure, and apply a UV protectant with minimal gloss. High-shine dressings get slippery and attract dust. I prefer protectants that finish to a matte look with SPF equivalents rated for textiles.
Non-skid needs bite, not sheen. Clean with a dedicated non-skid soap that lifts embedded dirt. Some companies sell polymer sealers designed for non-skid to ease cleaning without changing traction. Test in a small corner. Anything that slicks the deck is a liability.
Teak can be left natural, oiled, or sealed. Natural grays gracefully and requires only periodic washes with a teak-specific cleaner. Oils darken tones and look rich for weeks to months, then want new coats. Two-part cleaners are powerful but can raise grain if overused. If you choose two-part, work briskly, neutralize thoroughly, and avoid letting the part A sit. Sealed teak stays light and cleans quickly, though repairs to wear spots show as patches until you re-seal the whole area. Pick a lane and keep to it.
Glass on the lake often suffers from mineral spotting. If you catch it early, a vinegar-water mix or a dedicated water spot remover pulls them off. If left for a season, they etch. Polishing with cerium oxide restores clarity but takes time and a felt pad. Protecting glass with a hydrophobic coating helps wipers and reduces spotting. Again, prep decides success.
Metals and brightwork
Stainless can tea-stain even in freshwater. A metal polish with fine abrasives and corrosion inhibitors prevents pitting. Aluminum wants pH care. Acid brighteners work wonders on pontoons, but dwell time and rinse discipline keep you from streaking. Protect with a sealant. Do not lean into acids on anodized rails, as you can ghost the finish.
Chrome plated plastic trim shows up on many newer boats. It is delicate. Skip aggressive metal polishes. Use a light cleaner and wax, and accept that deep scratches are permanent.
Bilges and compartments
The best time to detail a bilge is either at haul-out or after a thorough pump-out at a wash pad built to capture runoff. Never discharge oily bilge water to the lake. Use absorbent pads to pick up free oil, then a bilge-safe degreaser, rinse sparingly, and vacuum the water with a wet-dry vacuum. The goal is a dry, clean bilge that does not carry odors into cabins or compartments.
Anchor lockers catch mud and weeds. Flush them out, check drains, and dry before closing. A light application of mold-resistant spray keeps mustiness down. If you smell a locker, it is wet. Airflow is free protection.
Quick note on safety
Compound dust is not friendly to lungs. Wear a particulate mask when cutting. Ear protection helps against polishers that drone for hours. Nitrile gloves save skin from solvents. Work cords away from water, and check GFCI protection on outlets. These are basic steps that separate a pleasant maintenance day from regret.
When detailing meets boat repair
Light cosmetic repairs blend into detailing. A gelcoat chip near a cleat, a dock rash line, or a small blister can be handled during a polish day if you know the limits. True structural issues belong to boat repair professionals. Understanding where the line falls saves money and prevents bigger problems.
For gelcoat chips smaller than a fingernail, clean the area with acetone, bevel the edges slightly with a small burr, and fill with a color-matched gelcoat paste. Overfill a touch to allow for sanding back. Cover with a piece of clear tape to exclude air while it cures. After cure, block-sand with 1000 to 2000 grit, then polish back to gloss. The key is color match and patience. Fast sanding leaves a divot that catches light https://trevorpxad510.image-perth.org/boat-polishing-mistakes-to-avoid-in-west-kelowna forever.
Dock rash that lives in the gelcoat and not into the laminate can be sanded and compounded out. Start conservative. If you break through color, you have created a larger repair. Deep cracks, soft spots that flex under thumb, or any area that weeps are outside day-detail scope. Those want a shop that does boat repair West Kelowna, because they may involve core, stringers, or a wet laminate. Blisters that bleed a vinegary smell point to osmotic issues. That is a haul-out, grind, dry, and barrier-coat project, which is not a Saturday task.
Aluminum dings on a jon boat or pontoon panel are rarely cosmetic alone. Straightening thin aluminum can oil-can the panel. Better to leave minor dents than to stretch metal and make it worse. If corrosion has crept under paint, remove all white aluminum oxide, treat, prime with an etch primer, and repaint. For any welding or structural straightening, find a shop qualified in marine aluminum.
Shrink wrapping is storage detailing
Detailing does not end at the dock. Storage choice decides how surfaces look next spring. Boat shrink wrapping protects from UV, snow load, and grime during the off-season. A good wrap is tight, vented, and supported with a proper frame so it sheds snow and avoids pooling. The wrong wrap traps moisture and grows mold in a month.
In West Kelowna, the calculus is simple. Winter brings cold snaps and thaw periods. Open storage under a tarp that sags lets water sit, freeze, and pry at fittings. Boat shrink wrapping West Kelowna shops build frames that stand up to those cycles. Ask for vents. Ask about door flaps for mid-winter checks. Avoid dark colors that heat and then condense moisture inside. Before wrapping, detail the boat. Clean surfaces resist mildew. Leave compartments dry and propped open if the wrap allows it. Batteries out or disconnected, desiccant in enclosed spaces, and fuel stabilized. Spring is kinder when fall is thorough.
One note on coatings and shrink wrap. Fresh ceramics and sealants continue to harden for days. Do not wrap a boat the same day you finish a ceramic application. Give it 24 to 48 hours of cure, longer if temperatures are low. If you must wrap sooner, avoid tight contact points and consider a sacrificial fabric barrier at rub zones.
A seasonal rhythm that works
Boats feel less overwhelming when care is broken into a rhythm. Owners who stick to a simple schedule spend less time fixing problems and more time on the water. A compact plan that suits the Okanagan season looks like this:
- Early spring: Unwrap, rinse thoroughly, inspect gelcoat, vinyl, and canvas. Perform a decontamination wash, light polish if needed, and lay down a sealant or ceramic booster. Mid-summer: Quick inspection day. Clean non-skid, treat vinyl, remove water spots, and top up protection. Address any new scuffs before sun bakes them in. Late summer or early fall: Deeper wash, decon as needed, and either a one-step polish and seal or a ceramic maintenance service. Fix gelcoat chips or rash while weather is warm. Pre-winter: Clean and dry everything, lubricate hinges and latches, remove perishables, place desiccant, and schedule boat shrink wrapping. Note any boat repair items for winter shop time. Winter: If stored on trailer, spin the wheels monthly so tires do not flat spot. If in a heated shop for boat repair or upgrades, bundle interior detailing tasks then.
This is the second and final list in the article. It keeps the workload predictable and short, which improves the odds it actually gets done.
Time, cost, and when to call a pro
A full detail on a 20 to 24 foot runabout that is moderately oxidized can consume 10 to 16 labor hours for a careful one-person job, plus drying and cure times. Shops move faster with experience and equipment, but the process is the process. Expect more time if oxidation is heavy or if interior work is extensive. Materials for a DIY owner, including washes, mitts, compounds, pads, a polisher, and protection, easily land in the 400 to 1,000 dollar range on the first build-out, then taper to 100 to 300 dollars per season for refills and pad wear. Professional boat detailing in West Kelowna varies with scope and season, but many owners find value in a spring polish and fall prep with lighter mid-season maintenance they handle themselves.
Call a professional when oxidation chalks your hand after a swipe, when black or dark blue hulls haze no matter what you try, or when you suspect underlying damage. If you do not have a clean power source and shade, it is also smarter to let a mobile team or shop handle the job. They bring lighting, water management, and the right pads already broken in. For boat polishing West Kelowna, ask for before and after photos of similar hull colors and ages, and ask what they do around decals and edges. The answers separate the careful from the careless.
The right tools, chosen once
Buying tools twice is more common than most admit. A few proven picks make life easier and last for years. A dual action polisher with a 15 millimeter throw balances safety and speed. A lightweight rotary is handy for heavy oxidation or small panels. Stock a small set of pads: two wool, two medium cutting foam, two finishing foam per machine. Have three compounds at most: a heavy cut, a medium cut that finishes decently, and a fine polish. Too many bottles create confusion and expired stock.
For washing, a pH-balanced soap, a dedicated non-skid cleaner, and a mild vinyl-safe APC cover most needs. Clay mitt for decon, and a panel wipe that does not flash too fast in summer heat. Microfibers with different edges and colors for paint, glass, and bilge tasks prevent cross-contamination. A pump sprayer for water spot remover and a separate one for panel wipe saves time. Masking tape that sticks in warm weather but does not leave glue behind is vital around hardware.
Little techniques that add up
Water management might be the most underrated skill in boat detailing. Work top down, rinse often, and keep a soft water rinse for final passes if you can. A filtered hose end unit is inexpensive and spares you from chasing spots. Dry panels before the sun finds them. A small leaf blower moves water out of crevices and instrument bezels safely.
Cords scratch. Throw a short towel over the gunwale where the cord rides. Check pads often for grit, especially after working near non-skid or around the rub rail. Label bottles with date opened. Heat and time separate polishes. Small steps like these save hours later.
Decals deserve respect. Many boats leave the factory with tapes and graphics that will not tolerate aggressive compounding. Feather to the edge, tape tight lines, and use finishing foam only on the sticker plane. If the decal is already failing, decide whether to remove it and correct the paint line below, or live with gentle cleaning to extend its life another season.
Aftercare between big details
The fastest way to shorten your next detail is to use the wrong soap or wipe a dusty hull dry. Rinse before contact every time you can. A silica spray sealant after every other wash keeps the surface slick and reduces the need for heavy compounds. Quick-detailer sprays work, but most do not add durable protection. Focus on UV-rated boosters for the Okanagan sun.
Store a small kit on board: soft microfiber, a mild glass cleaner safe for tint, a gentle vinyl cleaner, and a tiny bottle of water spot remover. Wipe sunscreen off vinyl the day it lands. Remove bird droppings as soon as you dock. Organic stains set fast in heat.
How detailing intersects with resale
Buyers judge boats in two passes. First from the dock at 5 meters. Then within arm’s reach. A deep, even gloss and clean deck lines sell the first pass. Tight seams, fresh vinyl, and odor-free lockers sell the second. In West Kelowna, spring is prime listing time. A hull that looks three seasons younger gets short-listed. There is no trick. It is the cumulative effect of consistent washing, periodic correction, and the right protection.
Anecdotally, a 23 foot bowrider that received a light single-stage polish and sealant two weeks before listing in May drew three offers within 48 hours. The same model with hazy gelcoat and chalk near the swim platform sat until July and accepted a price 8 to 12 percent lower. Appearance does not replace mechanical records, but it invites the buyer to take the next step.
Knowing your limits and building a team
Plenty of owners split the work. They handle washes, interiors, and quick protection, then bring in a professional once or twice a season for the heavy lifting. That rhythm works. If you need full restoration, gelcoat wet sanding, deep oxidation removal, or coordinated storage prep, it makes sense to book with a service that handles both boat detailing and boat shrink wrapping under one roof. If gelcoat damage or structural concerns show up, loop in a trusted provider that does boat repair West Kelowna alongside finish work. Fewer handoffs mean better outcomes.
The goal is simple. Keep the boat easy to clean, protected against sun and water, and ready for the next run. Done consistently, detailing shifts from a once-a-year scramble into brief, satisfying sessions that preserve the finish and your weekends. The work is not glamorous, but the results are. When you idle past the marina breakwater and the hull reflects the mountains like polished glass, you will know it was time well spent.